Macro Management Improvements

November 07, 2025

With the latest update to Onetastic, you can easily manage your macros by changing their names, categories, icons, or which context menu they show up on right from the Manage Macros dialog. When you open Manage Macros dialog, click on Installed Macros to see your currently installed macros. Here you can right click on a macro to get a set of options:

Manage Macros Context Menu

Alternatively, you can use the toolbar on the right side to access these options. Apart from renaming a macro, and change its category, icon, or context menus, you can also run, edit, or uninstall macros here.

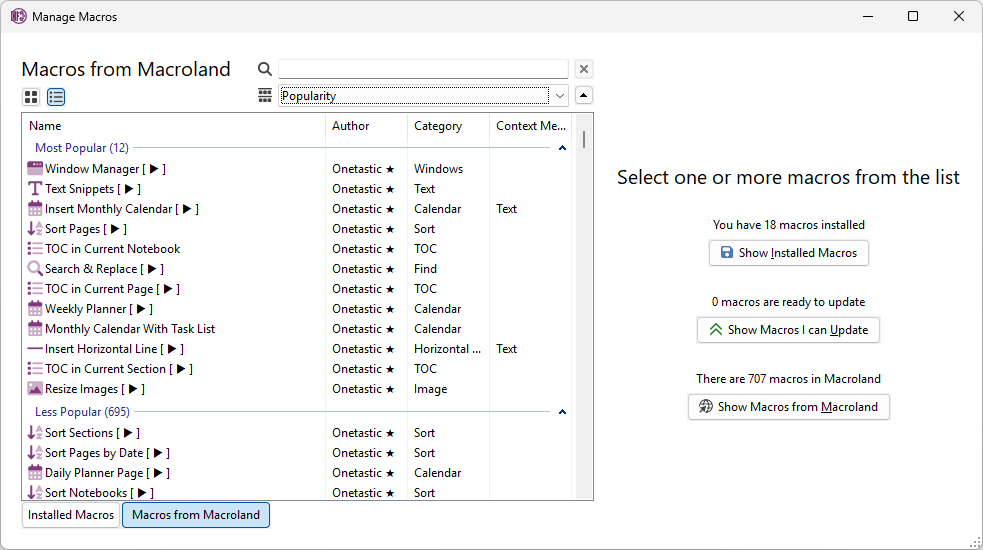
In addition, when viewing macros from Macroland, you can switch to list view to get additional information about each macro like author, category, and supported context menus. You can sort and group by these columns to browse Macroland more efficiently:

Macros from Macroland

Emojis in Page Titles in OneCalendar

Also in this update is an improvement to OneCalendar. Licensed users can now display emojis in full color in page titles:

OneCalendar Emoji Support

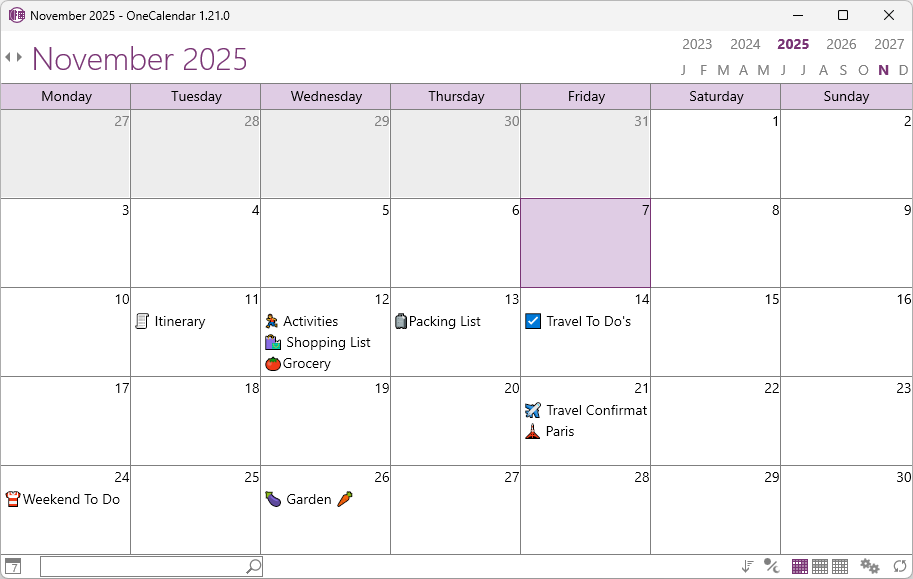
You will also notice that the text rendering is improved to be smoother and more consistent. Enjoy the updates!

Comments

Name
Comment
BrianPex - 2025-11-25
Hello. And Bye.
Santouplip - 2025-11-21
New Member Introduction – Happy to Join the Community
CaptainCaptain - 2025-11-18
In case of having a developer license and creating/editing macros, the Macro Editor does NOT provide editing capability in the Editor window itself. Instead the Editor transfers the user to use another application, such as VS Code, Notepad, Notepad ++, and receives data from that application back into the Macro Editor. (Behavior in year 2025.)  No matter which external editor you use, in order to send the data back to the Onetastic Macro Editor, after doing the editing in the external editor, in the external editor choose 'Save', NOT 'Save As'. 'Save As' will allow you to save the data for use in the external editor later in case you would like that. But 'Save As' does NOT send the data back to the Onetastic Macro Editor.

The 'VS Code' application is a good choice for external editor. (Download and install it if you don't have it.)

In case of using VS Code as your external editor for Onetastic Macro Editor, there is a setting which you need to change in the VS Code application. VS Code by default inserts spaces instead of a literal tab character when you press [Tab], (based on default settings of VS Code, at least in v 1.106.1). To change the option, open the VS Code app and go to File > Preferences > Settings) to open the Settings editor. In the search bar at the top, type "insert spaces". Look for the option labeled 'Editor: Insert Spaces'. Uncheck the box, to set it to false. This ensures that pressing the Tab key while using VS Code inserts a literal tab character instead of spaces. The Onetastic Macro Editor uses [Tab] as a marker in control code for loops (foreach, for, while, etc), much like other languages use enclosures such as curly brackets.

Other Posts

Show all posts