Write and Modify Macros with GitHub Copilot
April 02, 2026
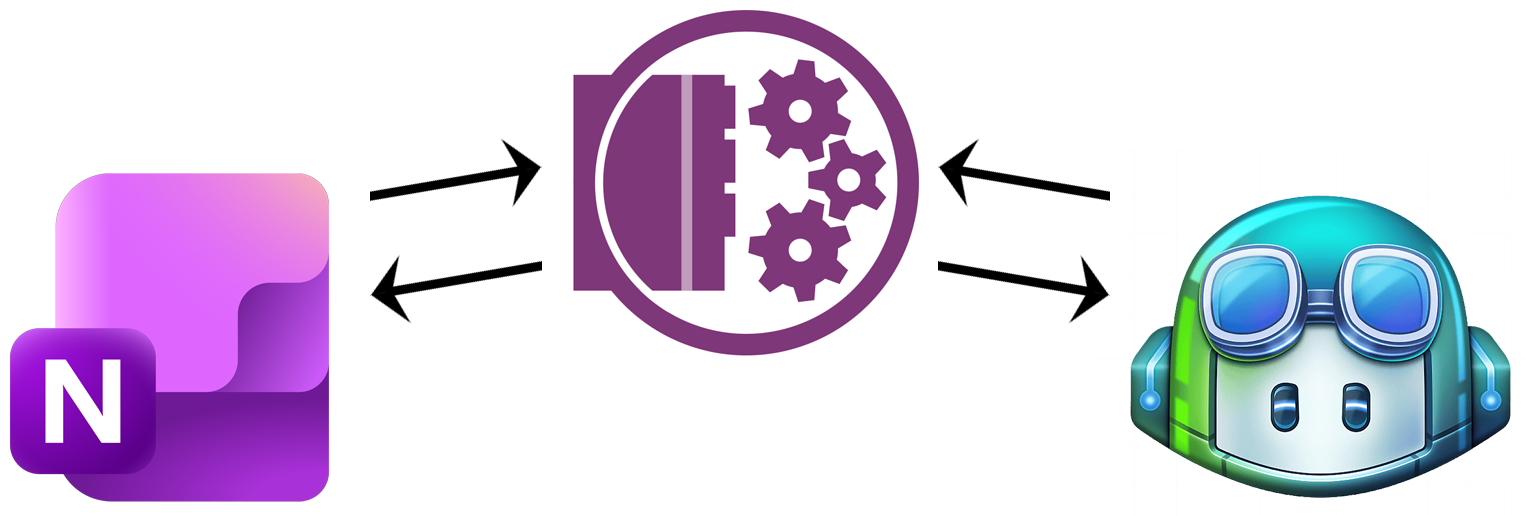
If you have ever wanted to write a Onetastic macro but felt unsure about the syntax, or you wanted to modify an existing macro to do something slightly different but weren't sure where to start, you're in for a treat. With the latest update to Onetastic, GitHub Copilot can now help you write, edit, and debug macros directly inside VS Code, with full knowledge of the Onetastic macro language built right in.
What Is GitHub Copilot?
GitHub Copilot is an AI coding assistant built into VS Code (and other editors). You can chat with it, ask it to write code for you, and have it explain or modify existing code. It's like having a knowledgeable developer sitting next to you, ready to help at any moment.
What makes this especially powerful for Onetastic is that Copilot can now be taught the specifics of the Onetastic macro language, including how macros are structured, what objects and properties are available, and what built-in functions exist. Without this knowledge, Copilot would make guesses that often come out wrong. With it, Copilot understands the language deeply enough to give you accurate, working suggestions.
How It Works
When you open a macro for editing in an external editor from the Onetastic Macro Editor, Onetastic now launches VS Code in the context of the editing folder rather than just opening the file in isolation. This means VS Code sees the .github folder that Onetastic maintains there, which contains a set of instruction files for GitHub Copilot:
- Language reference: all statements, objects, properties, functions, and how-to examples, tailored for Copilot to read
- Critical rules: things Copilot must know to avoid common mistakes, such as how to check if an object was returned successfully, which properties are read-only, and how indentation works in this language
- Workflow guidance: instructions for Copilot to tell you to run the macro in Onetastic rather than trying to simulate it itself
These files are kept up to date automatically. When a newer version is available, Onetastic downloads them in the background on startup, so Copilot always has the latest and most accurate information.
The Workflow
Here's how a typical session looks:
- Open your macro for editing: In the Onetastic Macro Editor, select your macro and click Edit in VS Code in the toolbar. VS Code opens with the macro file ready to edit.
- Open the Copilot chat panel: In VS Code, open the GitHub Copilot Chat panel. Make sure you are using Agent mode (rather than Ask or Edit mode) so that Copilot can proactively read the reference files to understand the language before helping you.
- Ask Copilot what you want: Describe what you want to change or build in plain language. For example: "Modify this macro to also check if the section exists before processing pages" or "Change the CSV delimiter from comma to semicolon". Copilot will read the reference files, understand the language, and suggest changes.
- Review and apply the changes: Copilot will show you the suggested edits. Review them, and apply them if they look right. Save the file.
- Run the macro in Onetastic: Switch back to the Onetastic Macro Editor window and run the macro using the Run button in the toolbar, or press
F5. Check the result in OneNote. - Copy any errors back to Copilot: If the macro produces an error, the error dialog now includes a Copy Error and Close button. Click it to copy the full error message to your clipboard, then paste it into the Copilot chat. Copilot will read the error and suggest a fix. Repeat until the macro works as expected.
Tips for Best Results
Copilot works best when you give it clear, specific instructions:
- Tell it what the macro should do, not just what code to write. For example: "This macro reads a CSV file and imports rows into a OneNote table. Change it so it skips rows where the first column is empty."
- If Copilot produces incorrect code, paste the error message from Onetastic into the chat and ask it to fix it. The error messages include the line number and a description of what went wrong, which Copilot can use to pinpoint the issue.
- If you want Copilot to be extra careful, you can ask it to read
Objects.md or Functions.md explicitly before making changes that involve object properties or function calls.
Add Your Own Instructions
Onetastic installs a file called UserInstructions.md alongside the reference files. This file is yours to customize and will never be overwritten by Onetastic updates. You can add notes about your own macros, your OneNote structure, or any other context that helps Copilot give you better answers. For example:
- "My notebook has a section called Daily Notes where I track tasks."
- "I always use a table with three columns: Date, Task, and Status."
- "All my CSV files use semicolon as a delimiter."
With this context, Copilot can give suggestions that are tailored to your specific setup rather than giving generic answers.
See It in Action
The video below walks through a complete example of using GitHub Copilot to modify the popular Import CSV macro, showing how to request changes, iterate on new features, and get to a working result in just a few minutes.
Comments